
Situation
“This is it, the balloons going up! We’ve cut main power to the command complex – so their early warning and turrets are off line.
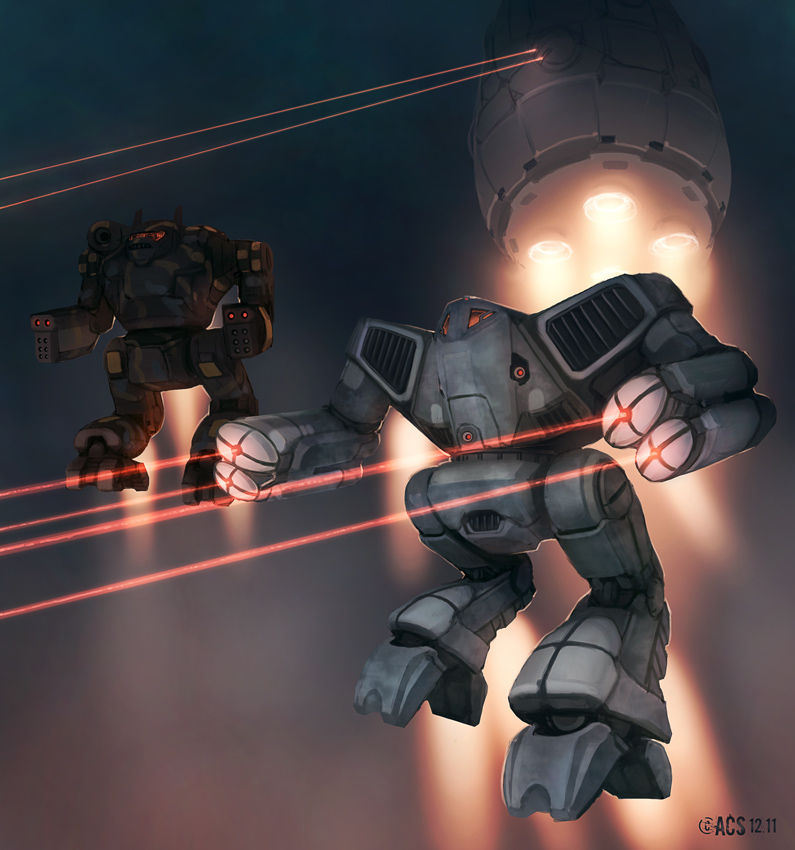
We want your heavy lance to combat drop from our Leopard Class dropship into the command complex. You’ll catch them with their pants down.
Once you have the situation under control, call it in and we’ll parachutes in the 45th AFFS Jump Rangers to take control of the Command and Control building. Just don’t call it until the drop zone is secure or our boys will be coming home in body bags.
We need that Command and Control building intact – poke some holes in it fine, but don’t bring the house down. The Rangers will do the rest.“
Game Setup
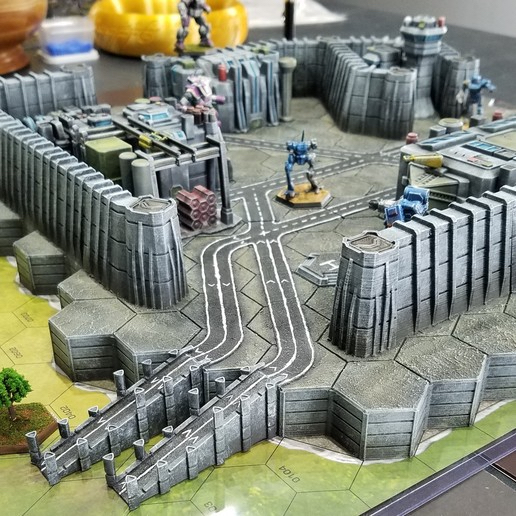
Place 4 map sheets in a 2 x 2 grid. The south west map sheet should be a city sheet or Forward Base map (From the hills map set).
One structure in the complex is the command and control (CnC) center.

Deployment
Attacker
The attacking units perform a Combat Drop to any location on the four map sheets.
At the start of the 2nd turn the attacking forces combat drop onto the field. The Attacker must nominate a hex anywhere on the playing area in which the ’Combat Unit will land. If a Combat Unit is prohibited from entering a specific hex type, that hex cannot be chosen as the target.
The player rolls manually (or this can be done in discord) vs the units pilot skill. A successful roll result indicates the Combat Unit lands in the target hex. If a Combat Unit fails the roll, completely resolve that drop before moving on to the next Combat Unit.
Stacking: Per the stacking rules, only one ’Mech can be in a single hex at the end of the Movement Phase. If a ’Mech violates the stacking rules when it lands use the Displacement rules to determine the effects randomly determine the direction to displace any ’Mechs (if there are multiple ’Mechs, randomly determine the displacement direction for each one).
If a Combat Unit lands on the roof of a building that has less CF than its tonnage, it will fall through the building taking damage as per a fall from that height and desstoying the building.
At the start of turn 3 the attacker notes the hex on which each of their infantry forces will arrive and rolls to combat drop using the gunnery skill of the squad as the target number. The Attacker has 2 Veteran Infantry (Paratrooper) Jump Rifle Platoons [3/4] and 2 Regular Infantry (Paratrooper) Jump SRM platoons [4/8].
Defender
Defending Combat Units may deploy anywhere on the Map.
The defender may place 2 Veteran Infantry Rifle Platoons [3/4] and 2 Regular Infantry SRM platoons [4/8] in Hidden Deployment. These units may reveal in any movement phase. They can’t move in that turn but can attack. If the building they are in is attacked while they are hidden, they take damage as per normal rules and are revealed. If another unit moves into their hex and level they are revealed.
WarChest
Track Cost: 200
Options:
None
Objectives
ATTACKER
- Destroy or place in forced withdrawal an enemy unit [50 max of 4]
- Have more troopers that the opponent in the CnC building at the end of turn 10 [100]
- Have unopposed troopers in the CnC building at the end of turn 10 [200]
- If the attacker destroys the entire CnC building they may not achieved the last two objectives (but they can damage it), and the defender achieved their last objective automatically and scores [200]
DEFENDER
- Destroy or Cripple an enemy unit [50 max of 4]
- Have more troopers that the opponent in the CnC building at the end of turn 10 [100]
- Have unopposed troopers in the CnC building at the end of turn 10 [200]
- The Defender may target the CnC with weapons fire by if the defender destroys the entire CnC building the Attacker Scores their last objective [200 OP] immediately.
Special Rules
None
Victory Conditions
- The scenario ends at the end of turn 10.
